From Scratch to Scalable: Deploying WordPress on AWS with EC2, RDS, and Terraform

What is WordPress?
WordPress is a free and open-source Content Management System (CMS) that allows users to create and manage digital content. It’s a popular platform for building websites, blogs, and online applications.
Read more: What is WordPress?
What is RDS?
RDS stands for Relational Database Service, a cloud-based relational database management system offered by Amazon Web Services (AWS). It provides a scalable, secure, and managed database service for various database engines, including MySQL, PostgreSQL, Oracle, and SQL Server.
Read more: https://medium.com/p/e321099d3ac5
What is EC2?
EC2 stands for Elastic Compute Cloud, a cloud-based virtual machine service offered by AWS. It provides scalable, on-demand computing resources for a variety of workloads, including web servers, databases, and applications.
Read more: https://medium.com/@nupmanyu/launch-ec2-instance-attach-ebs-volume-using-aws-cli-49403c268d3e
What is Terraform?
Terraform is an infrastructure as code (IaC) tool that allows users to define and manage cloud and on-premises infrastructure using a human-readable configuration file. It supports multiple cloud providers, including AWS, Azure, and Google Cloud.
Read more: https://medium.com/devops-dev/understanding-terraform-workflow-plan-apply-and-destroy-75b5f64c58b1
Let us now start with the Implementation
Step 1: Install Terraform and Create main.tf File or file with .tf extension.
sudo yum install yum-utils
sudo yum-config-manager --add-repo https://rpm.releases.hashicorp.com/AmazonLinux/hashicorp.repo
sudo yum install terraform
Step 2: Configure Provider and Create VPC .
provider "aws" {
region = "ap-south-1" # Asia Pacific (Mumbai)
}
resource "aws_vpc" "my_vpc" {
cidr_block = "10.0.0.0/16"
enable_dns_support = true
enable_dns_hostnames = true
tags = {
Name = "MyVPC"
}
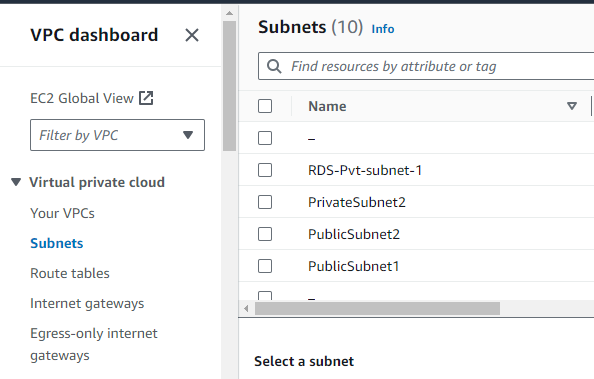
}Step 3: Create Subnets .
resource "aws_subnet" "public_subnet_1" {
  vpc_id            = aws_vpc.my_vpc.id
  cidr_block        = "10.0.1.0/24"
  availability_zone = "ap-south-1a"

  tags = {
    Name = "PublicSubnet1"
  }
}

resource "aws_subnet" "public_subnet_2" {
  vpc_id            = aws_vpc.my_vpc.id
  cidr_block        = "10.0.2.0/24"
  availability_zone = "ap-south-1b"

  tags = {
    Name = "PublicSubnet2"
  }
}
Step 4: Create Internet Gateway and Route Tables. Associate Route Tables with Subnets.
#Internet gateway.

resource "aws_internet_gateway" "igw" {
  vpc_id = aws_vpc.my_vpc.id

  tags = {
    Name = "MyIGW"
  }
}

#Routing Table.

resource "aws_route_table" "public" {
  vpc_id = aws_vpc.my_vpc.id

  route {
    cidr_block = "0.0.0.0/0"
    gateway_id = aws_internet_gateway.igw.id
  }

  tags = {
    Name = "PublicRouteTable"
  }
}

resource "aws_route_table_association" "public_association_1" {
  subnet_id      = aws_subnet.public_subnet_1.id
  route_table_id = aws_route_table.public.id
}

resource "aws_route_table_association" "public_association_2" {
  subnet_id      = aws_subnet.public_subnet_2.id
  route_table_id = aws_route_table.public.id
}
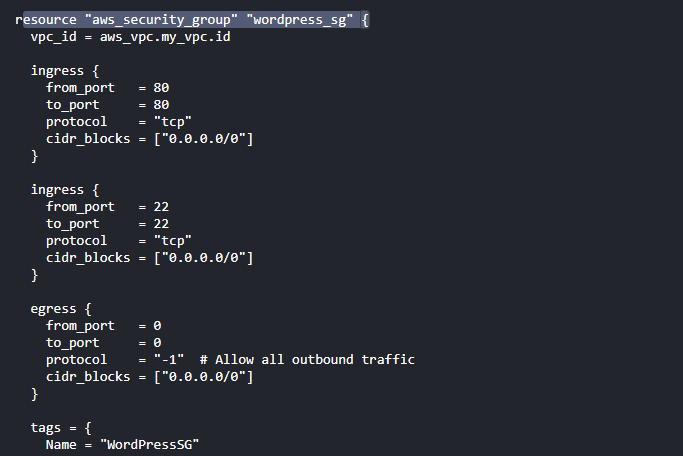
Step 5: Create Security Group .
resource "aws_security_group" "wordpress_sg" {
  vpc_id = aws_vpc.my_vpc.id

  ingress {
    from_port   = 80
    to_port     = 80
    protocol    = "tcp"
    cidr_blocks = ["0.0.0.0/0"]
  }

  ingress {
    from_port   = 22
    to_port     = 22
    protocol    = "tcp"
    cidr_blocks = ["0.0.0.0/0"]
  }

  tags = {
    Name = "WordPressSG"
  }
}
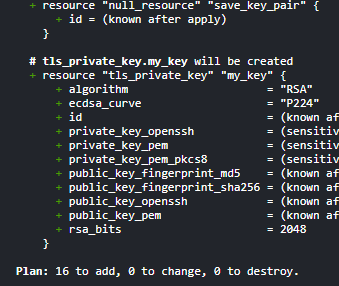
Step 6: Create Key Pair and Save It.
resource "tls_private_key" "my_key" {
algorithm = "RSA"
}
resource "aws_key_pair" "deployer" {
key_name = "test-key"
public_key = tls_private_key.my_key.public_key_openssh
}
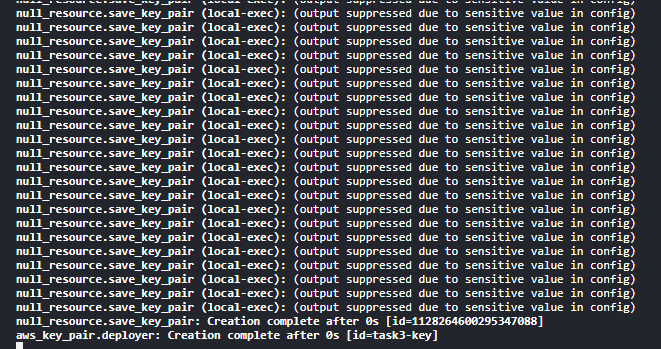
resource "null_resource" "save_key_pair" {
provisioner "local-exec" {
command = "echo ${tls_private_key.my_key.private_key_pem} > mykey.pem"
}
}
# Save the private key locally in CloudShell or the directory if using AWS cli.
resource "local_file" "private_key" {
content = tls_private_key.my_key.private_key_pem
filename = "/home/cloudshell-user/mykey.pem" # Path for CloudShell
}
Step 7: Create RDS Instance .
resource "aws_db_instance" "wordpress_rds" {
  engine                    = "postgres"
  engine_version            = "16.3"  # Use the specific version
  instance_class            = "db.t3.micro"  # Suitable instance class for small workloads
  allocated_storage          = 20
  db_name                   = "wordpress_db"
  username                  = "test"
  password                  = "test1234"
  db_subnet_group_name      = aws_db_subnet_group.my_db_subnet_group.name
  vpc_security_group_ids    = [aws_security_group.wordpress_sg.id]

  skip_final_snapshot       = true
  publicly_accessible        = false

  tags = {
    Name = "PostgreSQL RDS Instance"
  }
}
Step 8: Create EC2 Instance .
resource "aws_instance" "wordpress" {
ami = "ami-0522ab6e1ddcc7055" # Valid AMI ID for ap-south-1
instance_type = "t2.micro"
key_name = aws_key_pair.deployer.key_name
vpc_security_group_ids = [aws_security_group.wordpress_sg.id]
subnet_id = aws_subnet.public_subnet_1.id
tags = {
Name = "wordpress-instance"
}
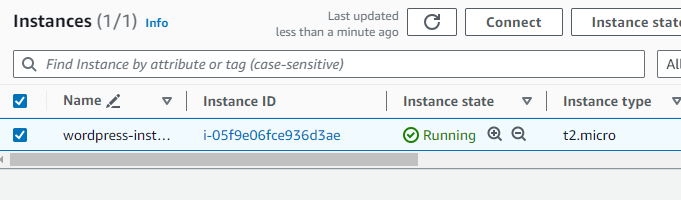
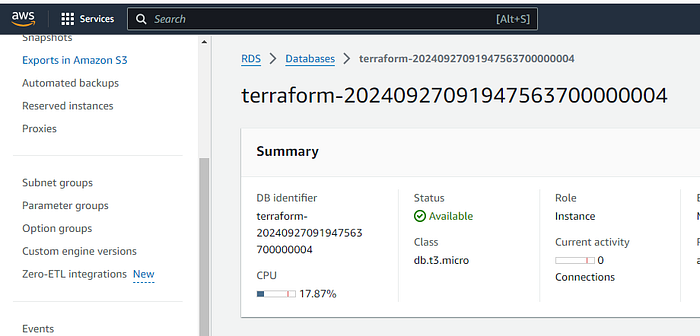
}Step 9: Verify Resources Creation.
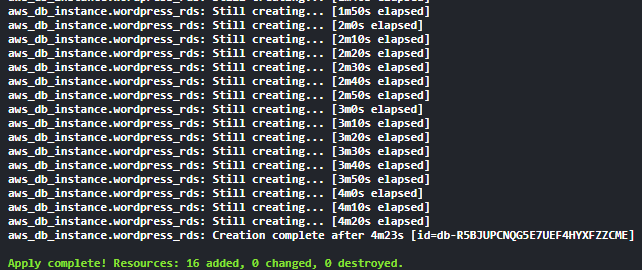
Step 10: Install docker on the instance and pull wordpress image and add user data to resource or go to Step 11.
#ADD this data to ec2 resource.
 user_data = <<-EOF
              #!/bin/bash
              sudo apt-get update
              sudo apt-get install -y docker.io
              sudo systemctl start docker
              sudo apt-get install -y docker.io
              sudo systemctl enable docker
              sudo systemctl enable docker
              sudo docker pull wordpress
              sudo docker run -d --name wordpress -e WORDPRESS_DB_HOST=${aws_db_instance.wordpress_rds.endpoint} -e WORDPRESS_DB_USER=test -e WORDPRESS_DB_PASSWORD=addyourpassword -e WORDPRESS_DB_NAME=wordpress_db -p 9000:80 wordpress
Step 11 : Connect to the instance manually and then install docker.
     yum install docker
     systemtclt start docker
     systemtctl start docker
     sudo systemctl start docker
     docker images
     docker pull wordpress
     docker run -d --name wordpress -e WORDPRESS_DB_HOST=terraform-20240927091947563700000004.c5gk0siig490.ap-south-1.rds.amazonaws.com -e WORDPRESS_DB_USER=test -e WORDPRESS_DB_PASSWORD=test1234 -e WORDPRESS_DB_NAME=wordpress_db -p 9000:80 wordpress
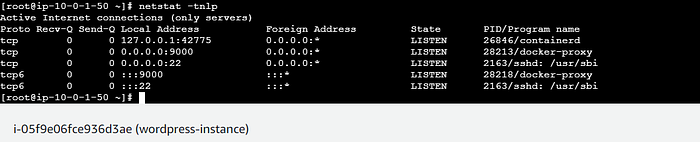
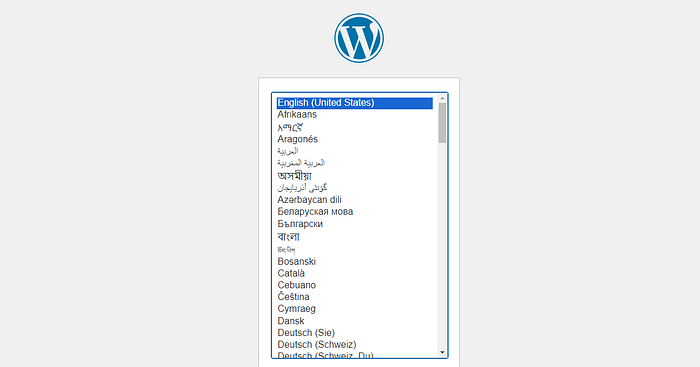
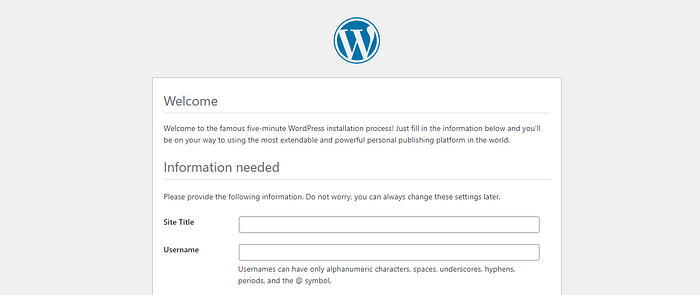
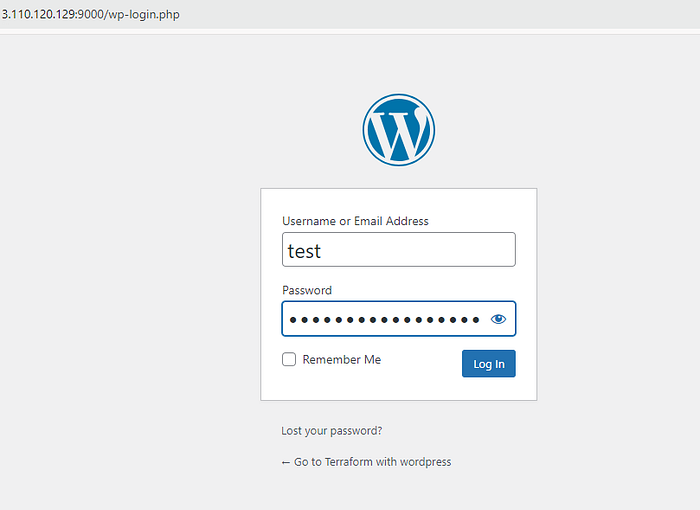
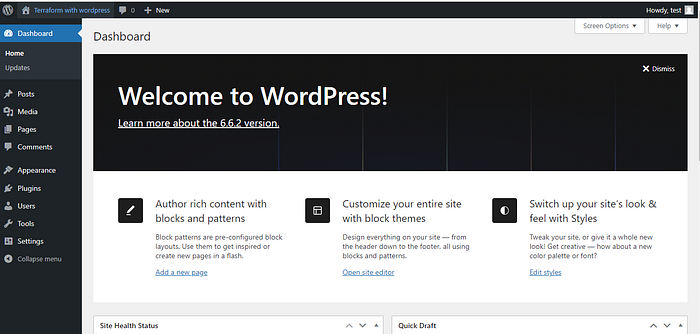
Step 12:Result.
Step 13: Destroy.
terraform destroy.
The configuration is very big so here we can use the concepts of modules in terraform. Terraform modules allow us to break down our infrastructure code into smaller, reusable pieces that can be easily managed and composed together.In our case, we could create separate modules for:
- VPC and subnets.
- Security groups.
- Instances (e.g., WordPress instance).
- Databases (e.g., RDS instance).
- Key pairs and SSH configuration.